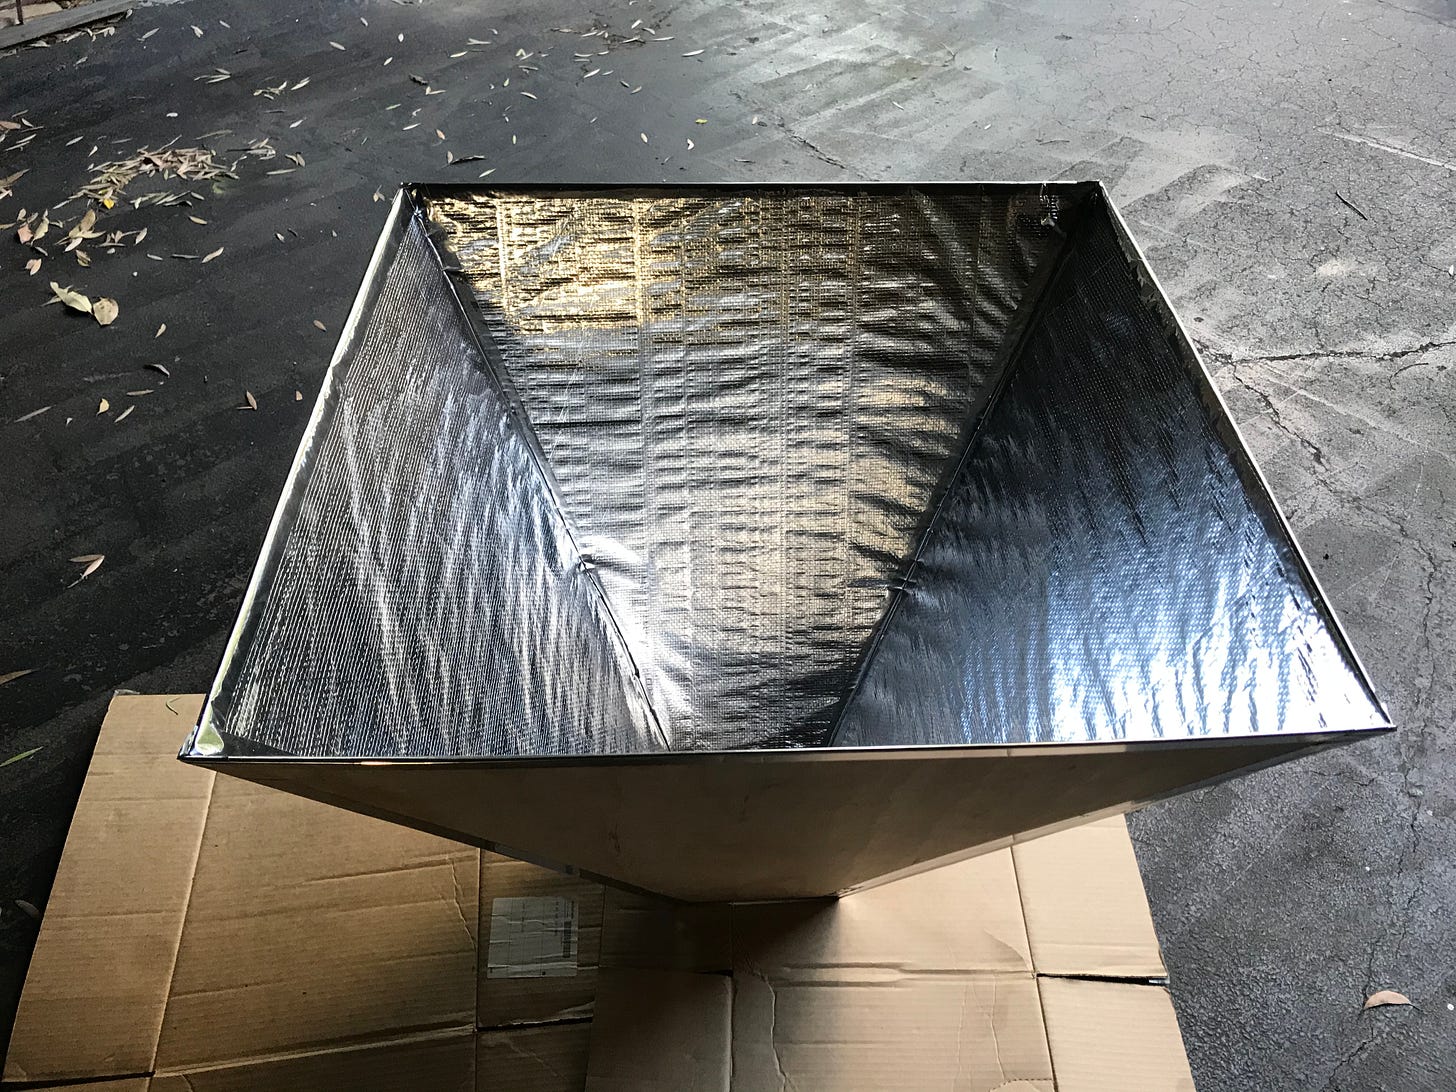
If you are like me, then you’ll be attracted to bright, shiny things.
So it’s little wonder that looking at the spectacular photos of DIY radio telescopes from around the world, with their mirror-like surfaces pointing into the night sky, that I would leap into the building of the telescope “horn” as my very first step.
But if you feel the need to start here … STOP!
Go back and read the previous article - build the waveguide first. Then come back here and build the horn. And finally, go back to my first article and build the frame and cradle.
Seriously. The building of a DIY radio telescope is quite an effort, and that effort can easily double or quadruple when you build out of sequence. Believe me, I know.
So again - build your telescope in the following order:
Waveguide
Horn
Frame and cradle.
Now that we’ve set that straight - let’s talk about the horn.
Choosing the material for your telescope horn
As you plan out your radio telescope, there are a couple of things to consider:
The size of the horn - think about where you are going to store your telescope, because you’re likely to need to move it through a door. That means the widest part of your horn needs to fit within a normal sized door frame (approximately 80cm).
The weight of the horn - the heavier the construction material, the heavier the telescope will be. And the heavier the horn, the more you’ll need to consider the frame and its counter-balancing weight.
With this in mind, choosing a light weight material such as aluminium home insulation board, is a cost-effective and easy-to-work-with material. I happened to have some light weight 3mm plywood available, so I used that instead - but as long as you can cover the material with foil, you can use almost anything - including cardboard.
Building to a plan
As mentioned previously, I started out with the DSPIRA instruction guide. Rather than following the directions to the letter (or centimetre), I charted my own path, building a close to square horn. In hindsight I could have saved time and money by following the instructions, so I’d encourage you to do so.
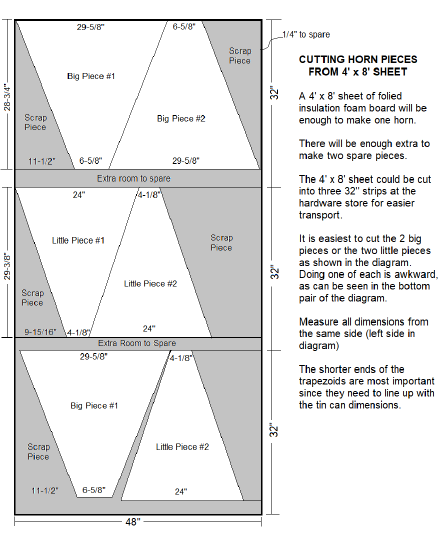
I selected plywood to build the horn - largely because I had two large 3mm sheets available. This meant I could use the following template as a base.
Following this design, you’ll cut four pieces out. There will be 2 large pieces and 2 smaller pieces. Getting the angles right makes life easier when it comes to assembling the horn - so be sure to take your time, measure twice, cut once.
If you are not using an aluminium board, you’ll need to cover one side of the board with ceiling insulation foil. This is simple:
Roll out the foil on a flat surface (or the floor). Note if you are using the floor, be sure to lay down some scrap cardboard to protect the foil
Place your horn pieces on top
Cut the insulation foil to shape - leaving a generous 2cm+ margin
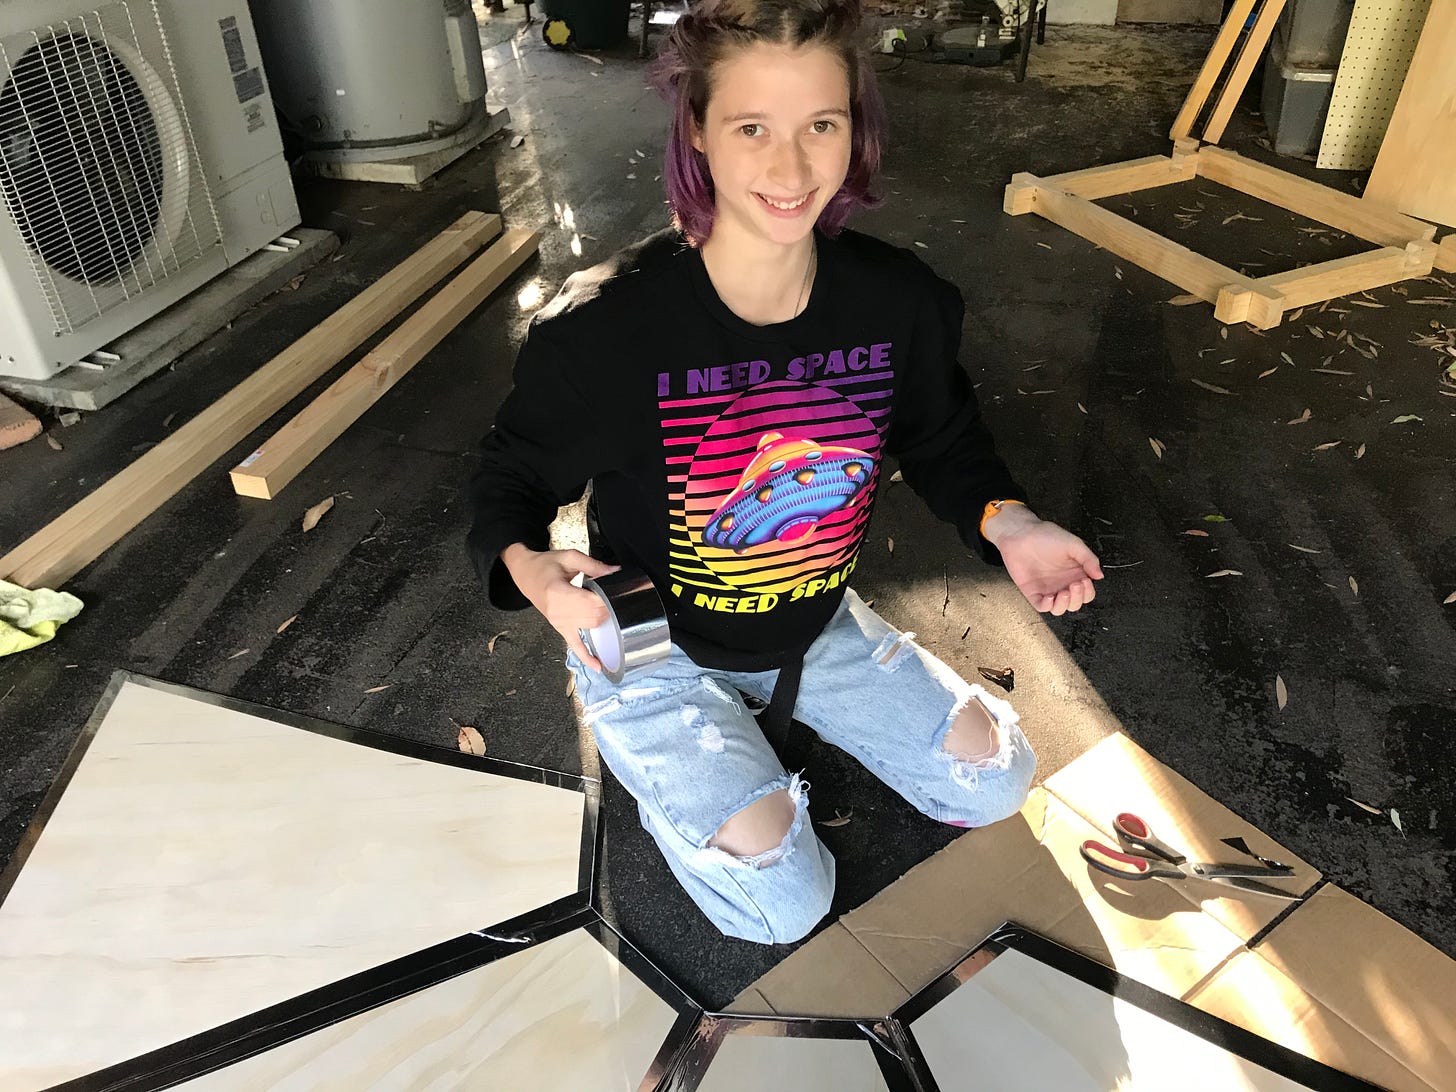
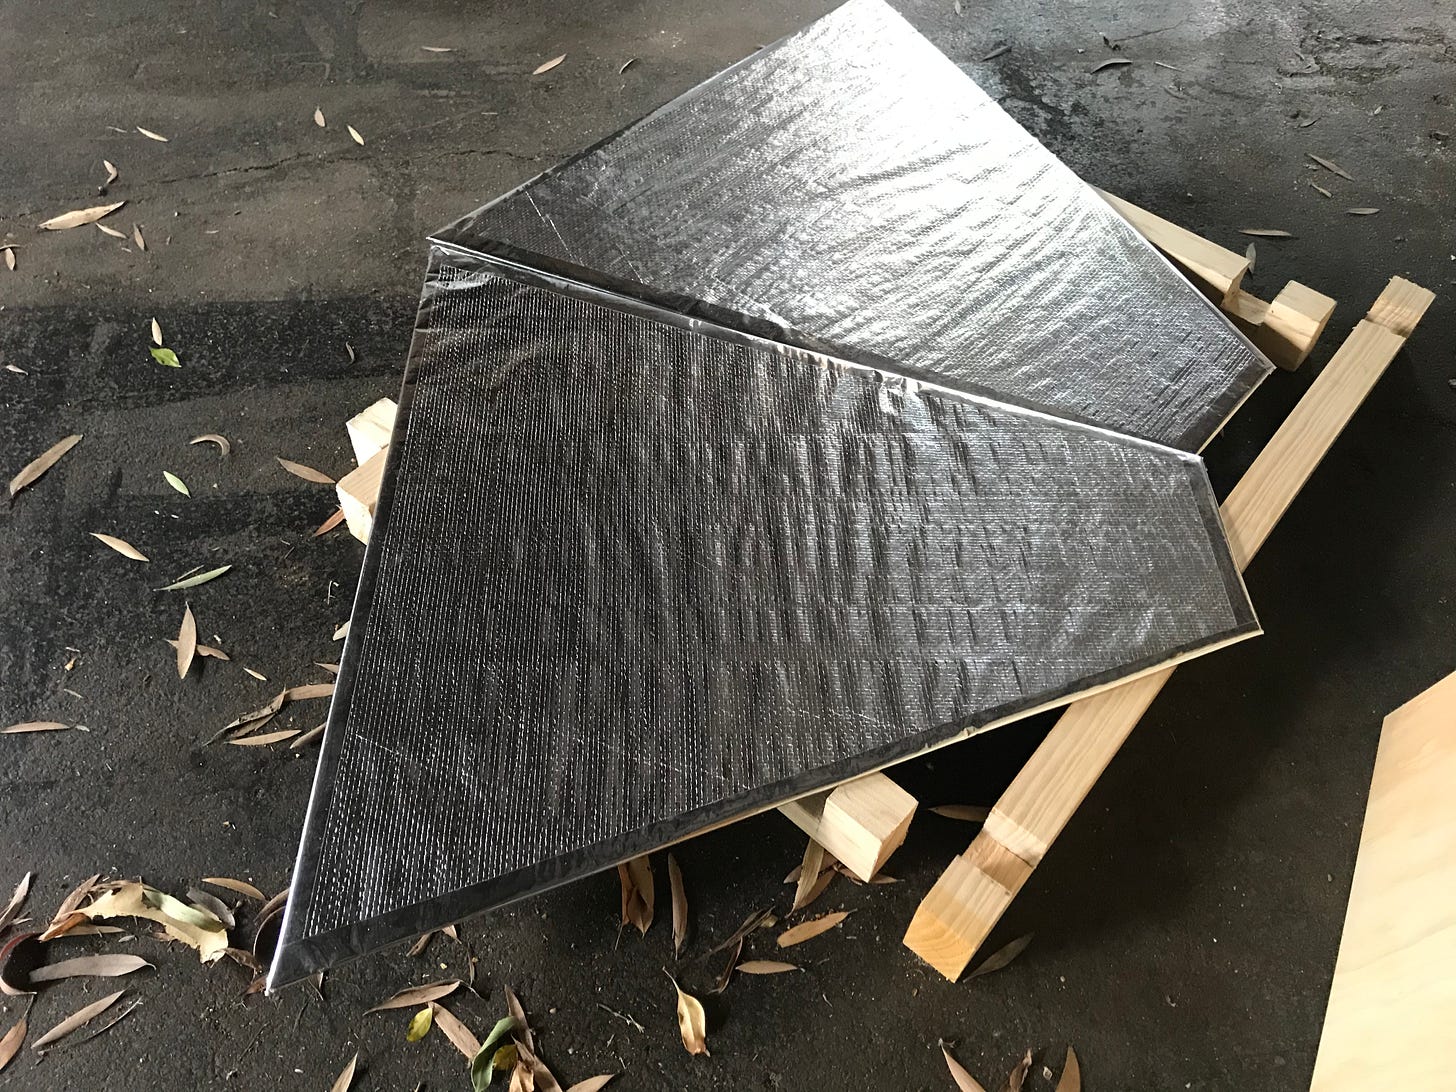
Pull the foil margin back across the edge of your horn piece and tape it down using foil tape.
Do this for all four pieces, using a metal ruler to smooth down the edges.
When all four pieces are complete, place them side by side, interspersing the large and smaller pieces. Stretch another piece of foil tape across the gap between each of the pieces of your horn.
You may need an able assistant to help you for the final section. You’ll need to lift and roll the pieces to create the horn shape, holding the edges together while stretching the foil tape across the gap.
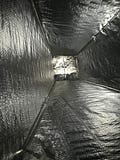
If your cutting and sizing is correct, your horn will appear perfectly formed.
Now all you need to do is connect your horn to the waveguide.
