Tuning in to Space Radio
Reaching into space needs a good Earth base

What could go wrong?
Space Australia’s DIY Radio Telescope project seemed like a great idea. There were instructions. Photos. People to talk to. And an abundance of excitement.
So with an list of materials, dimensions and step-by-step instructions in hand, I headed off to Bunnings to stock up.
Building the base
There are plenty of online resources to help you build your own “Horn Antenna”, but detailed instructions proved quite elusive. Eventually I found the DSPIRA Horn Assembly instructions and got to work. I translated the imperial measurements to metric and got to cutting.
This was my first mistake.
Eventually, I realised that the first step shouldn’t be building the base - it should be building the waveguide.
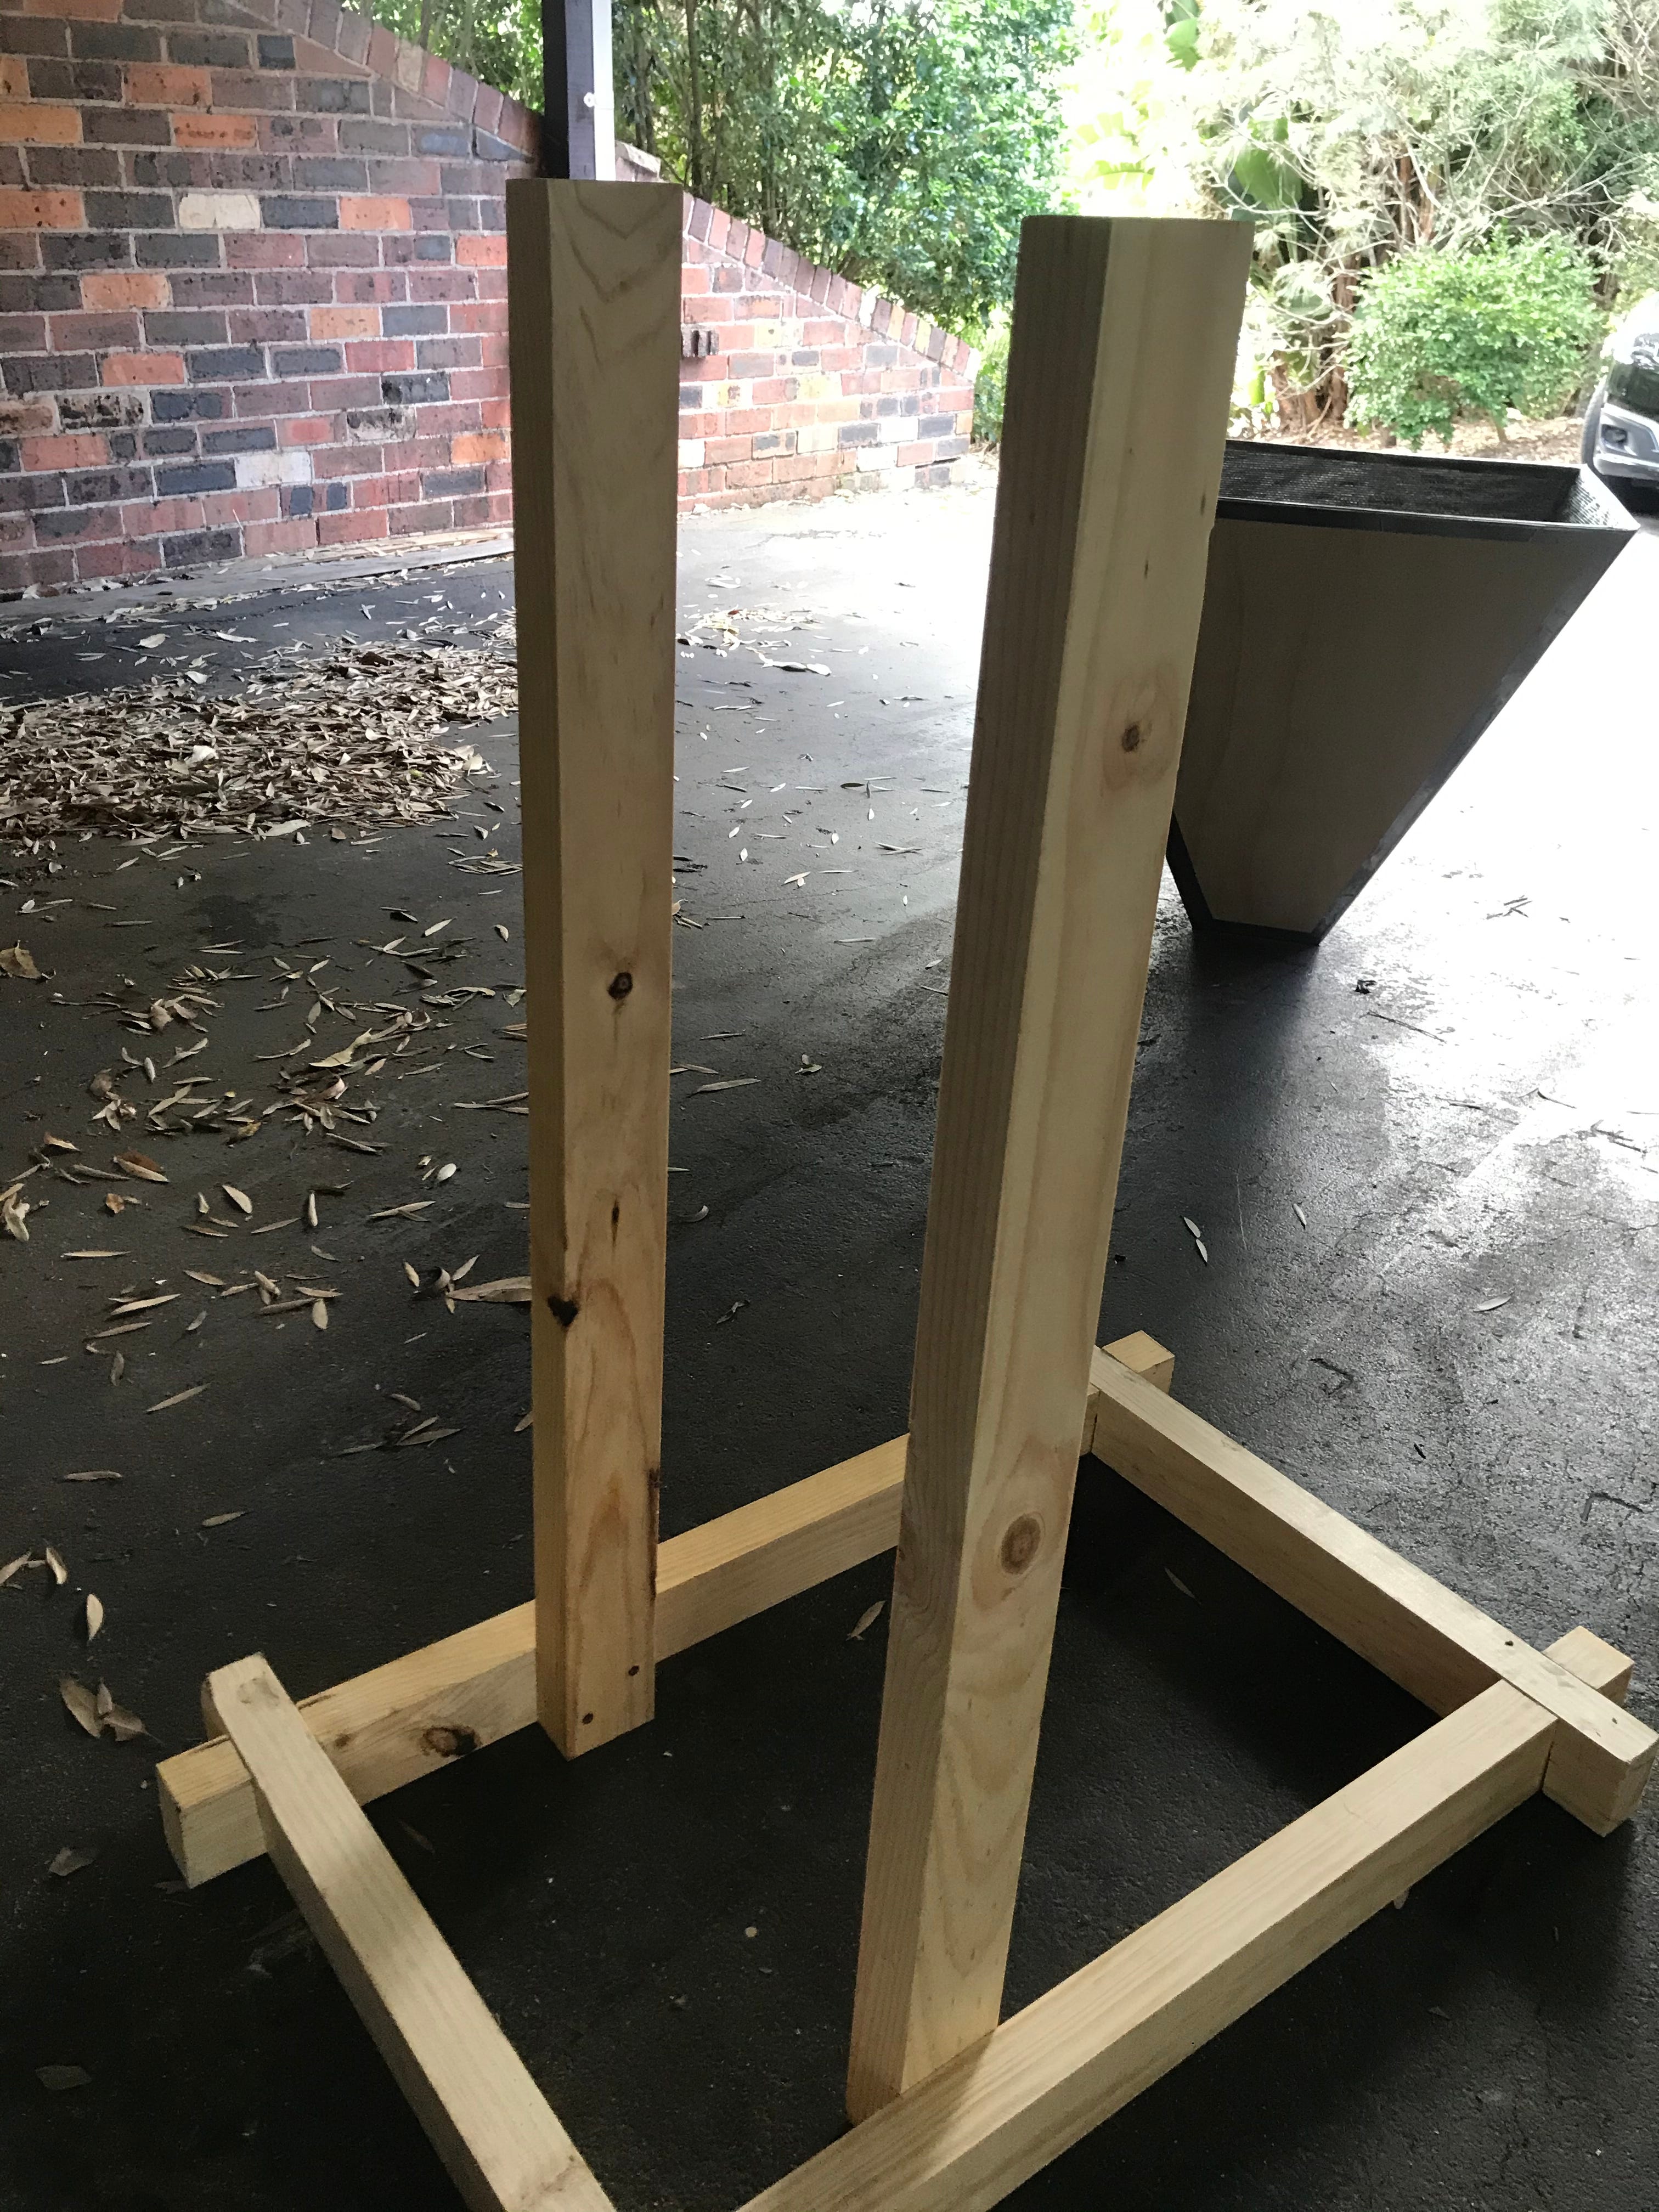
Following the DSPIRA Horn Assembly instructions was relatively quick and easy. The base slotted together and the supports were quickly screwed into place. The cradle, which holds the horn, required some glue, screws and a light sanding, but fit easily into the supports. A couple of bolts later and the base was almost ready.
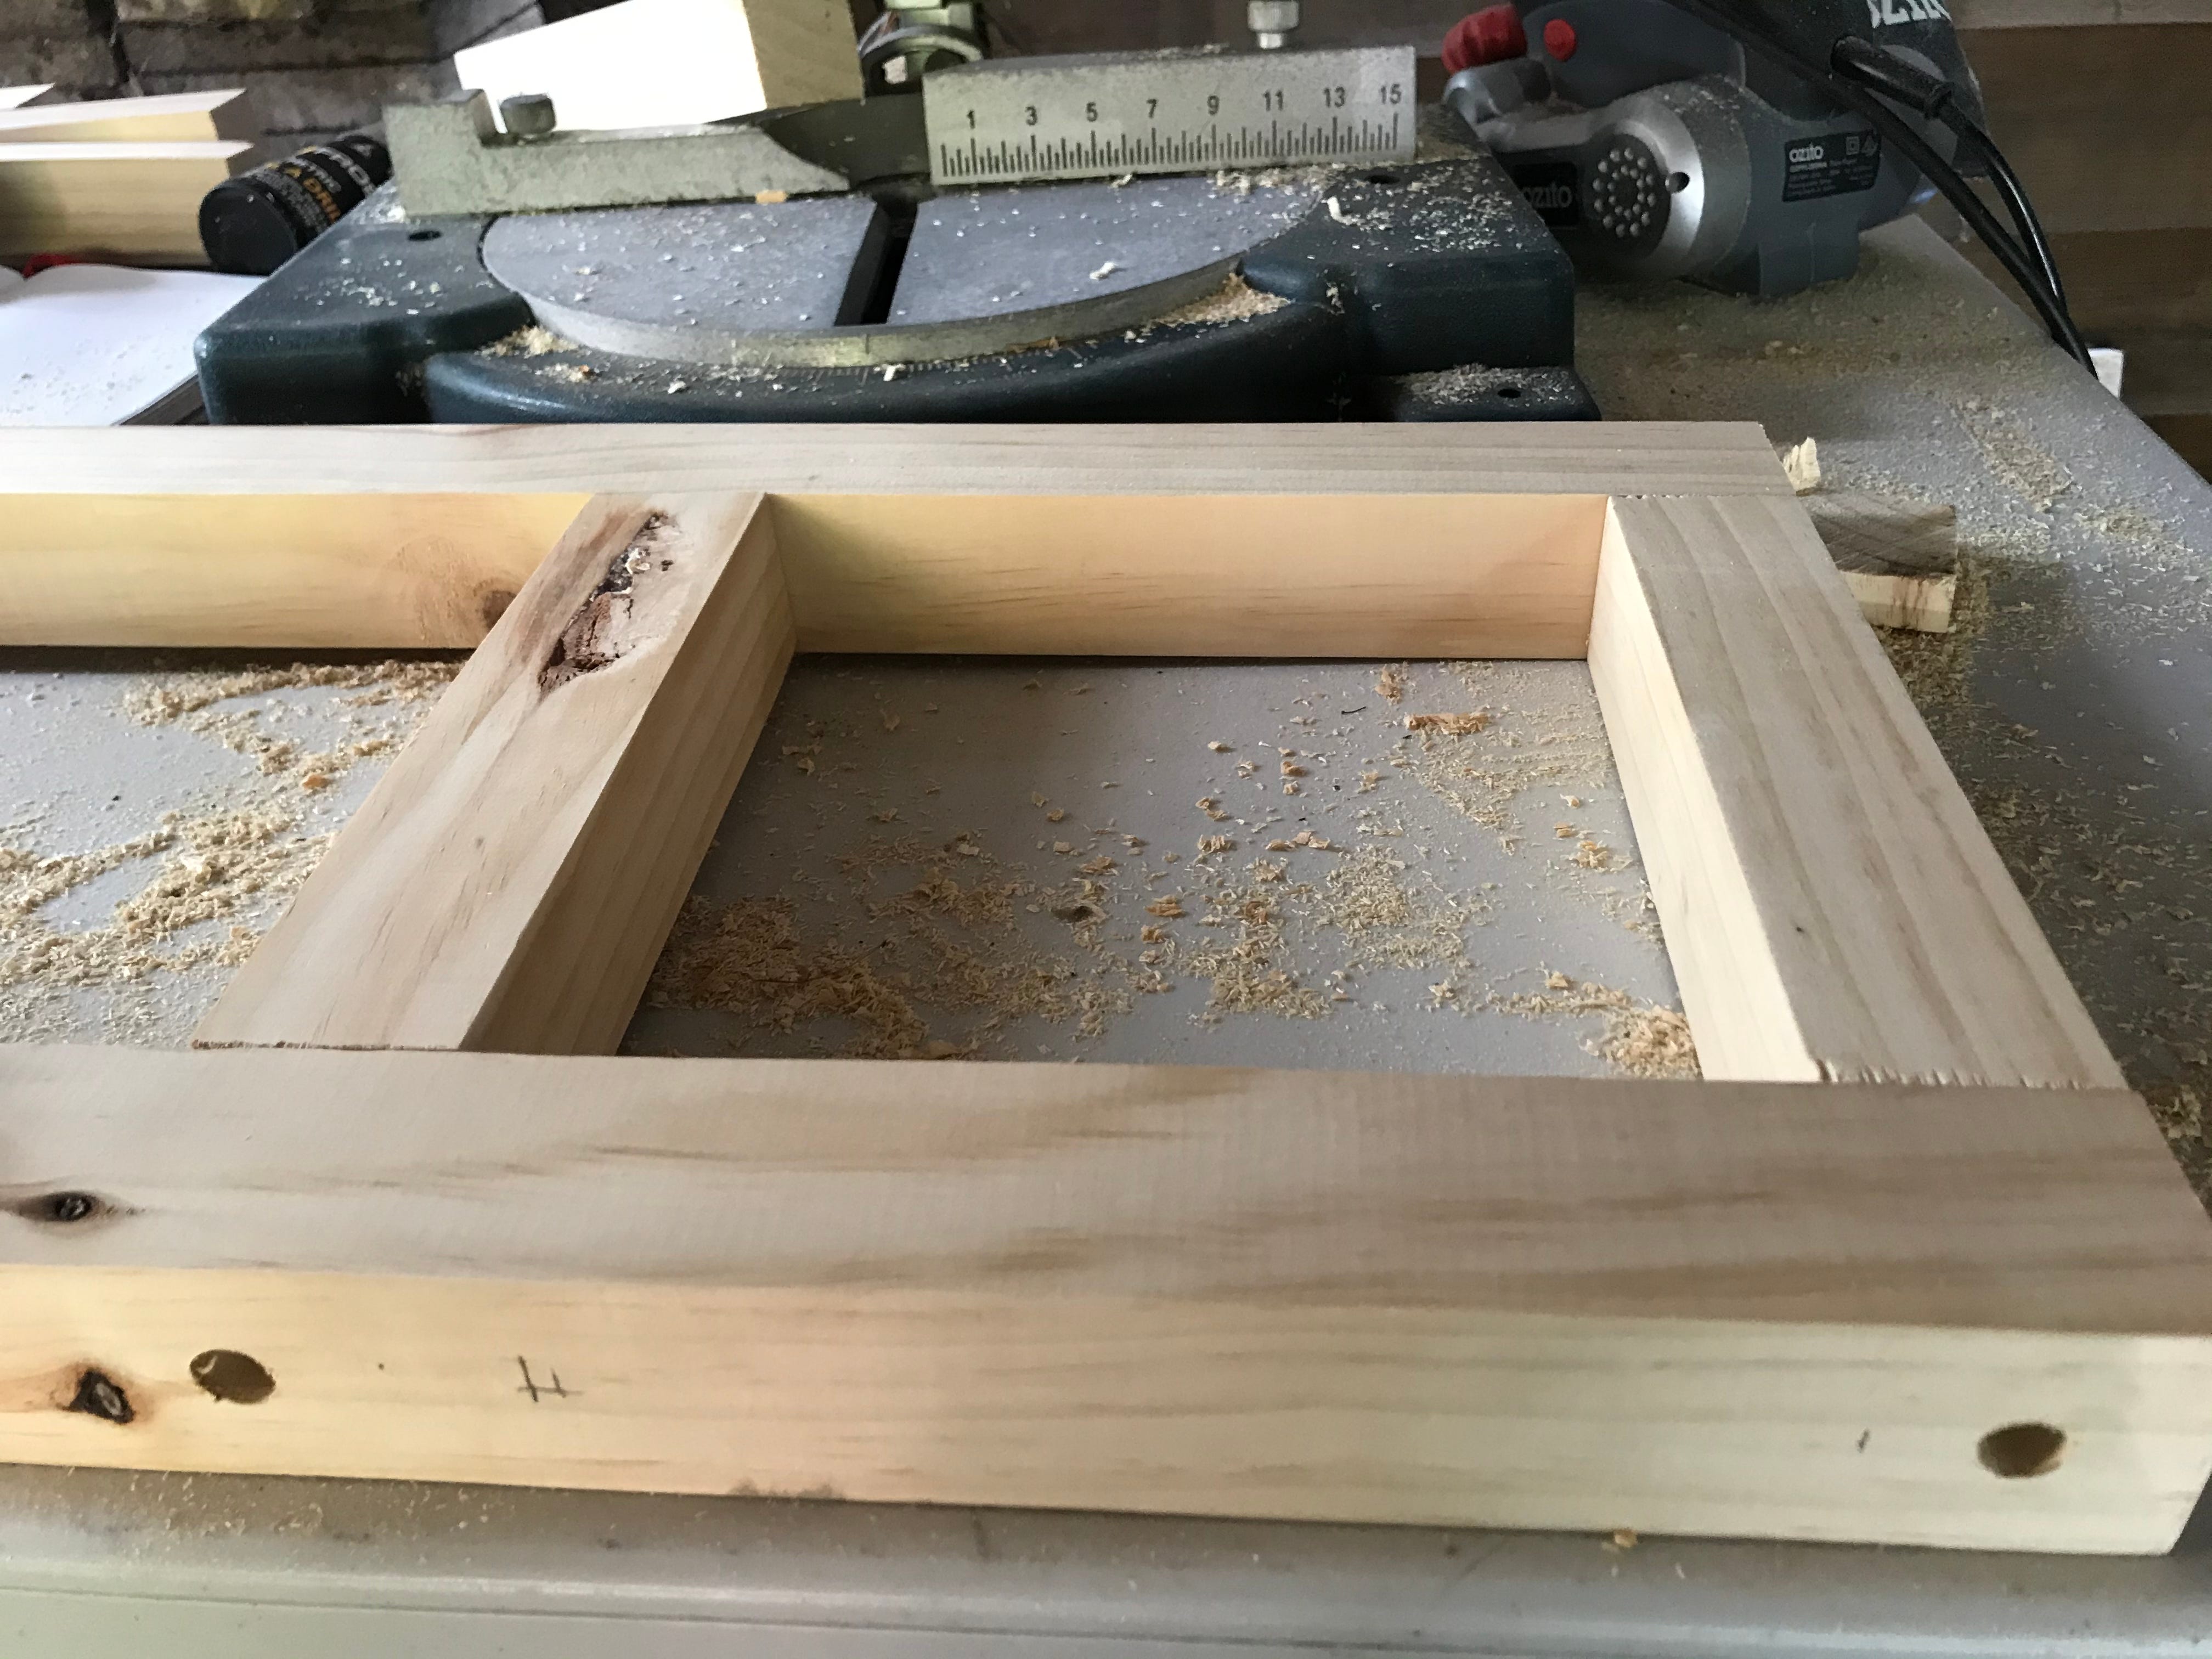
Things to look out for:
The cradle may need to be glued so that it doesn’t move under the weight of the horn
The middle cross piece of the cradle should be located so that the one piece waveguide and horn can comfortably - but securely - slide into place.
Next up, I’ll explain how I built the horn - where I went wrong - and how I made it right.